
Can you believe we are releasing the final clue of the Galanta knit-along?
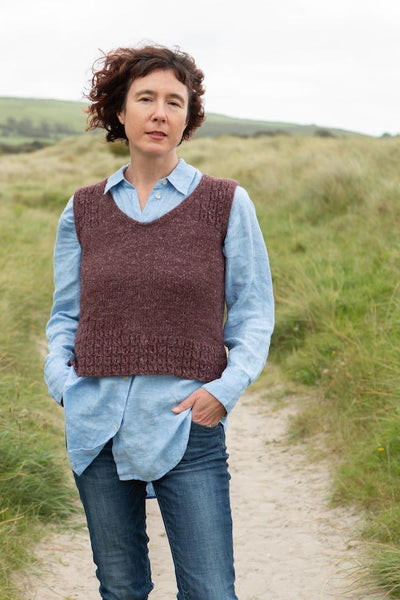
If you are working on the vest, this clue is really fast. You will just be working your armhole and neck edgings.
If you are doing the full sweater, then you will also work your sleeves.
Don't worry, we won't leave anyone on sleeve island!
In the Galanta Sweater, the sleeves are worked from the top down, with short row sleeve cap shaping.
You begin by picking up the stitches around the armhole, working short rows back and forth to shape the sleeve cap, and then joining in the round to work the sleeve.
Did you know that even at this late stage, there are lots of ways to tweak your final knit?
In fact, sleeve modifications are probably the number one change that most knitters make to their garments!
Adjusting the length to suit your body, even if it's as little as an inch, can make or break how comfortable a sweater is to wear.
It's the same with the sleeve size.
Do you have a bigger upper arm?
Pick up more stitches!
Small wrist?
Add a few more decreases just before the cuff.
Tips on working your sleeves or edges
The rate of stitch pick up around the armhole will vary depending on whether you are working the set-in sleeve or the vest.
For both, you will begin at the centre of the underarm and you will pick up one stitch for each of the bound-off underarm stitches.
For the set-in sleeve, as you work along the rows along the side of the armhole you will be picking up close to one stitch for every two rows. This is a wide spacing but it works because you are working short rows back and forth to shape the sleeve cap this gives you plenty of room.
When you have finished, you’ll be at your upper arm and that will mean you have the right number of upper arm stitches.
If you are working the vest, you will want to pick up more stitches.
You will be picking up around two stitches for every three rows.
This is because you are just working an edging, so you need enough stitches for that edging to lie nice and smooth.
If you are worried about your vest armhole getting too tight (most at risk with the I-cord version) then you can pick up extra stitches or alternatively, even use a larger needle size.

Tips for Sleeve Modifications
If you want a larger upper arm, you will need to pick up more stitches around the armhole opening and add extra short rows to match the extra stitches picked up.
Make sure you add the same amount of extra stitches on each side so that your sleeve is symmetrical!
For a stitch gauge of 18 sts = 4" / 10 cm in St St an addition of 4 extra stitches adds 1” / 2.5 cm approximately to the sleeve circumference.
Be careful to make changes in multiples of 4 so that you can still easily work the faux cable cuff which has a 4 stitch pattern repeat.
If you want to change the size of your sleeve at the cuff, you can adjust the number of decreases, giving you either a smaller cuff with more decreases or a larger cuff if you reduce the number of decreases.
If you want to change your sleeve length, just adjust the length as you work. If you want to shorten the sleeve, you may need to move your sleeve decreases closer together to fit them all in.
If you want a shorter sleeve but the same number of total decreases, then you will take out some rounds between each decrease. The total number taken out will depend on how much length you want to reduce the length.
If you wanted to make it 2” / 5 cm shorter, you want 13 rounds less. You would remove those 13 rounds from between the decreases.
Neck Modifications
The v-neck is designed to be fairly deep, with two edging options. The I-cord edging will create a firm, but open neckline, but the ribbed edging will close the neckline, giving you a less open neck.
If you want to close your neckline in even more, you can use the ribbed neck edge to do that.
You would:
- Use a smaller needle size.
- Work more rounds of ribbing.
- Work a firm bind off to hold the neck firmly.
Wow, clue 3 of the Galanta KAL has a lot of modification options!
Don't forget to pop into our Knithub to chat about any modifications you're knitting or if you have any questions. And don't forget to share your wips and post your FO in the final prize thread!


