

Saddle shoulder construction at its most basic involves 2 saddles (strips of fabric) at the top of each shoulder that continue on to the sleeves. The body is connected at the front and the back to these saddles.
Obviously saddle shoulder sweaters can be constructed in pieces with the saddle continued from the top of the sleeve and then the front and back seamed on to the saddle at each side. However my preference (as always!) is to construct saddles seamlessly.
Top Down

Here’s a breakdown of the different steps that you’ll need to work your top down saddle shoulder sweater. This method creates a very polished finish and is fantastic for combining 2 colours. This is the method I uses for Viminal.
…remember you can still get 15% off any of the Dovestone Hills Individual patterns or digital book until the 14th of February if you use code HAPPYDOVES this includes Viminal!
Saddles

To create top-down saddle shoulders you start by working ‘strips’ of knitting for each saddle. These start at the side of the neck and end at the edge of the shoulder. When they’re finished you put those stitches on waste yarn or holders and they will form the top of the sleeve caps.
Back

Now we will work on the back and pick up stitches. If you lay the 2 saddles flat you can see how you pick up the stitches; first from the left shoulder, next you cast on neck stitches and then finally pick up stitches from the right shoulder.

After stitches are picked up we work short rows on each side so that the neck edge is higher than the outer edges. This is to create a shoulder slope as our shoulders are naturally sloped not flat.

Once that is complete you just work straight down until you reach the point where you want to increase stitches at the underarm. You increase slowly first and then more rapidly to create a nicely curved underarm. These stitches are then held until later.
Front
This is worked in a similar way to the back but you will need to include neck shaping as well. For a sweater you’ll shape the neck with increases and a cast-on but for a cardigan you’ll never join the two sides of the front.
Body
When the back and front are complete to the underarm you will join each side by casting on stitches at the underarm area. From there you work the body straight down to the bottom of the sweater, adding any shaping you might like.
Sleeves
When the body has been complete you go back to work the sleeves. You’ve got live stitches held at the top from the saddle stitches. If you put those on a needle and pick up stitches from each side you’re ready to go. The saddle stitches will form the centre of the top of the sleeve cap and you then work short rows back and forth, adding one extra stitch every time you turn. When the sleeve cap has reached the underarm stitches you join it in the round and work your sleeve all the way down to your cuff, decreasing as you need.
Bottom Up
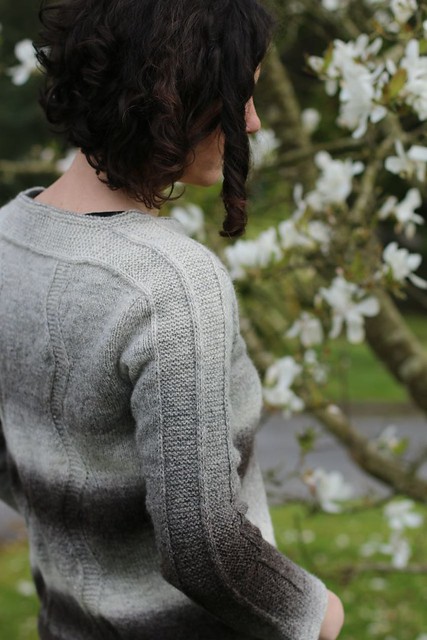
The bottom up saddle shoulder construction I’ve used before are a little more complex than top-down. Elizabeth Zimmermann created a very interesting method that I used for my Woodburne Cardigan.
This method involves using a series of alternating decreases for the body and sleeves until you reach the saddle. Then each saddle is worked back and forth, one at a time, using short rows to decrease the stitches at each side of the saddle and create the saddle shoulder. If you’ve every created a standard sock heel where you work back and forth, decreasing on each turn it is a very similar method.
Tips
Picking Up Stitches
There are a few skills you’ll need to master in order to create top down saddle shoulder sweaters. The first is picking up stitches so that the ‘seam’ at each side of your saddle is neat and attractive. You can find a tutorial on that here.
Short Rows
The second skill that’s important for this construction is short rows. These are used in 2 places; the shoulder slopes and the set-in sleeve cap shaping. To create a well-fitted sloped shoulder you work short rows at the front and back of the body after you pick up stitches from the saddles. The second place is at the set-in sleeve cap. Short rows are used to create the curve so the sleeve cap fits the top of your arm correctly. You can use any type of short row you wish. Typically I’ve used standard wrap & turn short rows but leave the ‘wrap’ in place to form a seamline. More recently I’ve been experimenting with German Short Rows and I love how they work! For a full primer on short rows you can take a look at my Craftsy Essential Short Row class here (this is a 50% off coupon, valid for 3 months). For some basic short row tutorials just check out my website here.
Examples
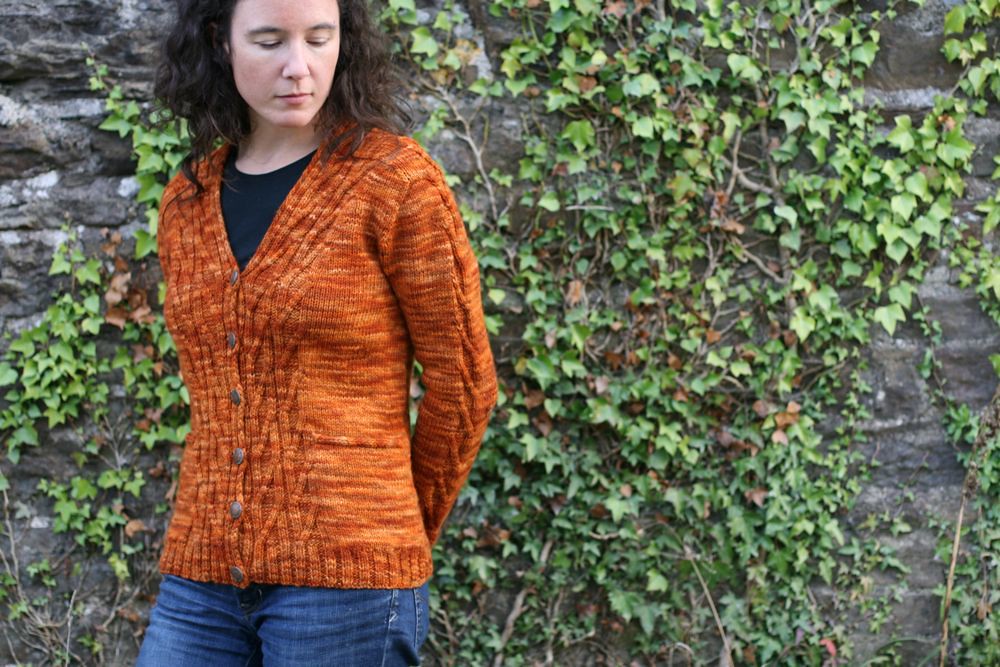
Whistle Stop is a saddle shoulder cardigan that uses a slightly different construction, the saddle is much wider at the top so one half goes all the way across the back behind the neck. This cardigan was started with a provisional cast-on at the centre of the neck so that both sides could be knit towards the shoulders.
Knockmore is a bottom up sweater that uses the same construction technique as Woodburne Cardigan above.

Have you tried a saddle shoulder construction before? I think its a really fun technique to try out!


