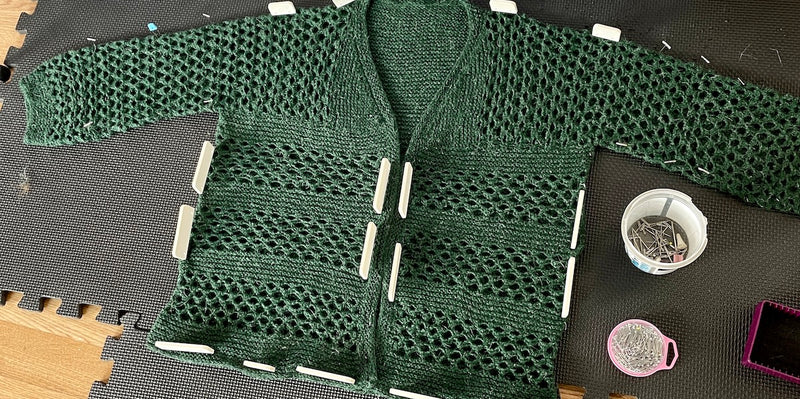
The next type of construction I want to look at is side-to-side garment construction. This method is a little bit different and can be confusing the first time you try it. It is however an awful lot of fun to work!

This method starts the cardigan along one edge of the front, works all the way around the body and finishes at the other side of body. There are many more ways of creating side-to-side garments but this is the method we’ll look at here.
You can see an example of this type of construction in the last individual pattern to be released from Dovestone Hills, Capitoline.

So how does this type of construction work?
First Front
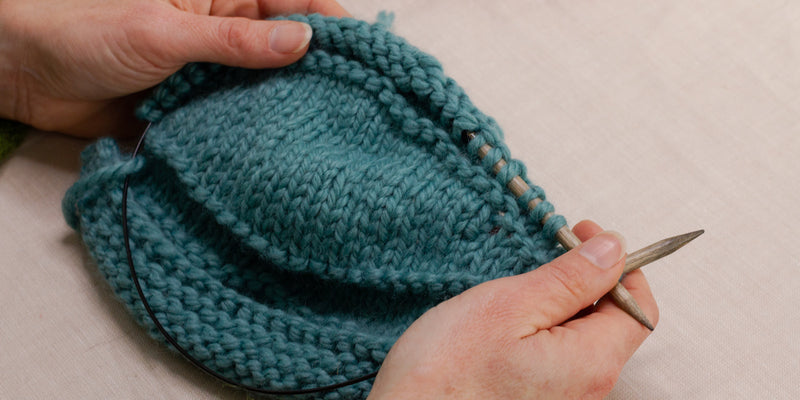
The key is to think sideways and do all your shaping with short rows! You start along the front edge of one side of the cardigan. Now you work short row ‘wedges’ that repeat all around the neck. The reason for this is so that the top of your neck is smaller than the bottom of the yoke; you want less rows at the neck than lower down.
First Sleeve
Once you have reached the side of the body you put the body stitches on hold. Now you cast on stitches for the sleeve that are added on to the yoke stitches. You work your sleeve from side-to-side but the whole time you also keep doing the yoke short row wedges so you neck will be shaped correctly. When you’re finished you cast off the sleeve stitches. You can of course also use a provisional cast on and then at the end graft both sides of the sleeve together to keep it totally seamless.
Underarm
Once the sleeve is finished you work the body for a little bit without the yoke. This will create an underarm area that can be attached to the bottom of the sleeve for a better fit.
Back
When the underarm is finished you join the yoke and body together and work all the way across the back exactly the same as for the front.
Second Side
The second side is completed exactly the same as the front, working the second sleeve, underarm area and second front of the cardigan. You end by binding off all of the stitches along the front edge.
Extra Shaping
The cardigan construction I’ve described here is a very basic shape. You can however use short rows to modify it for a bit more sophistication!
To create an a-line swing you can work short row triangles along the bottom edge so that the bottom hem is wider than the bust. You can do these either at the front and back or at either side.
The sleeves as worked are straight, but to create a narrower cuff you work short rows with less rows at the cuff so that it’s smaller.
Variations
Yoke only
In the cardigan, Ravi, I use a variation on this construction type. I’ve worked the yoke only from side to side and then from that I picked up stitches for the body and sleeves that are worked down from the yoke. With this type of construction it is very easy to see what you’re trying to achieve with the short rows in the yoke!


