When I design there are a few techniques that I return to over and over again; one is short rows and the other one is I-Cord edging. I think by now most people know how much I love Short Rows but I often don’t sing the praises of I-Cord edging!
Several years ago I did a few I-Cord video tutorials however at the time my camera only recorded in very low res. This prompted me to redo the videos over the last few days and as a bonus I’ve added one more on I-Cord buttonholes.
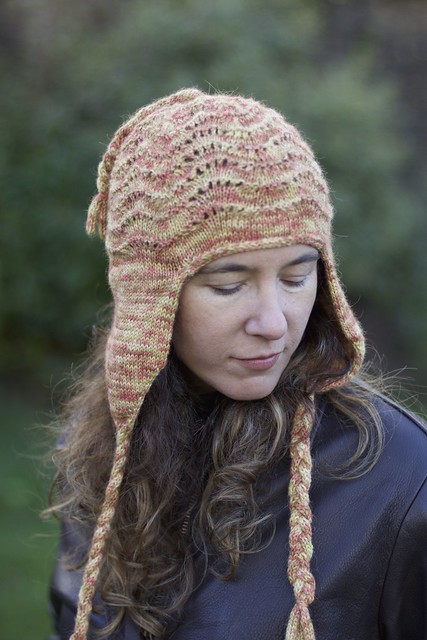
For such a simple idea I-Cord edging creates a flexible and very polished, professional finish for knits. At it’s most basic you can use I-Cord on it’s own to create cords that can be used as ties or braided. You can see it used in a braid in the pattern Dalchini.

A basic I-Cord loop can also be used to create a bottonhole, just work the cord and sew it on! It is however going to only be useful for larger buttons as the loop won’t be small enough for little ones.
You can see how to work a basic I-Cord in my video tutorial here.
Now that you’ve got the basics of what an I-Cord is it’s time to move on to the really useful techniques; I-Cord bind-off and applied I-Cord.
You can see the I-Cord Edging used around the neck here for Nishibi.

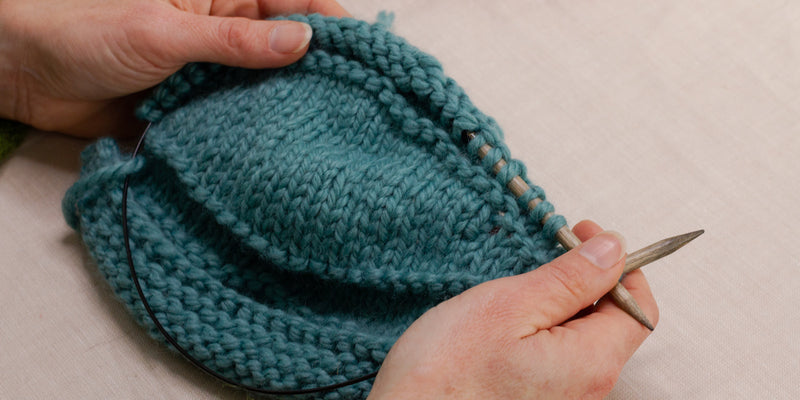
When worked as and edging, you are working the I-Cord along the edge of the work while at the same time decreasing the stitches in your work. It just means that the last stitch of the I-Cord is worked with the next stitch of your bind off.
Take a look at it in action in this video here.
The final I-Cord technique that I’ve done a video for is the I-Cord buttonhole. This is actually a combination of the previous 2, as you are working an applied I-Cord you create I-Cord loops that act as buttonholes. You can watch the video here.
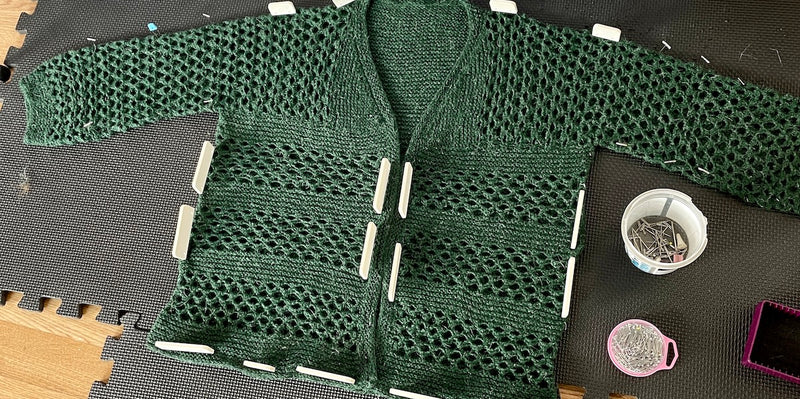
I’ve used these I-Cord buttonholes on my newest KAL, Sugarcane Cardigan. The front Garter Stitch cardigan edging is finished using and I-Cord edging and the integrated buttonholes are worked along the bind-off.


